In Part 1 of this series I already explained my goals building a new NAS. In this post I show how I assembled the hardware in order to ensure reliance and redundancy.
1. Overview
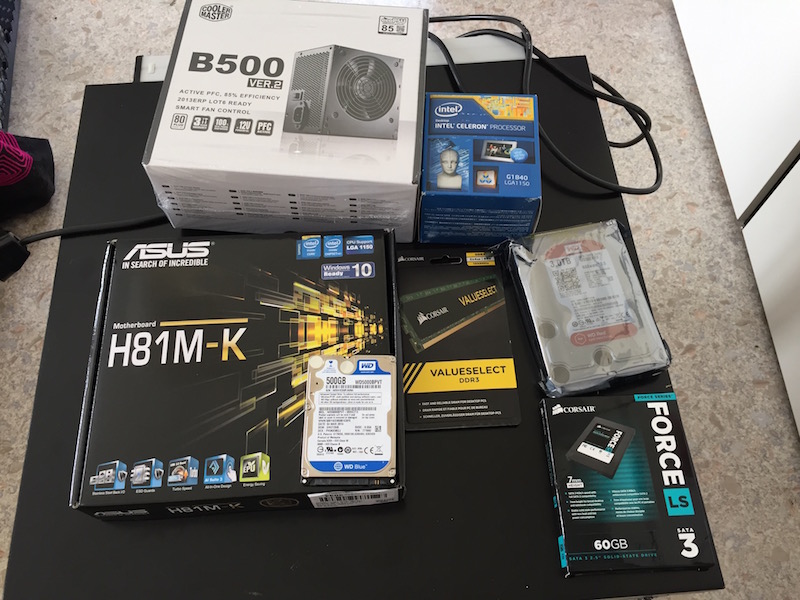
This is the hardware I got (case and fans not included):
- Intel BX80646G1840 Celeron G1840
- Asus H81M-K motherboard
- Cooler Master B500
- Corsair CMV8GX3M2A1333C9 Value Select 8GB (2x4GB) DDR3 1333 MHz CL9
- Corsair (CSSD-F60GBLSB) Force Series LS 60GB (6Gb/s) SATA 3 Phison MLC NAND
- WD 500GB Blue (OS)
- WD 3TB Red (data)

2. Assembly
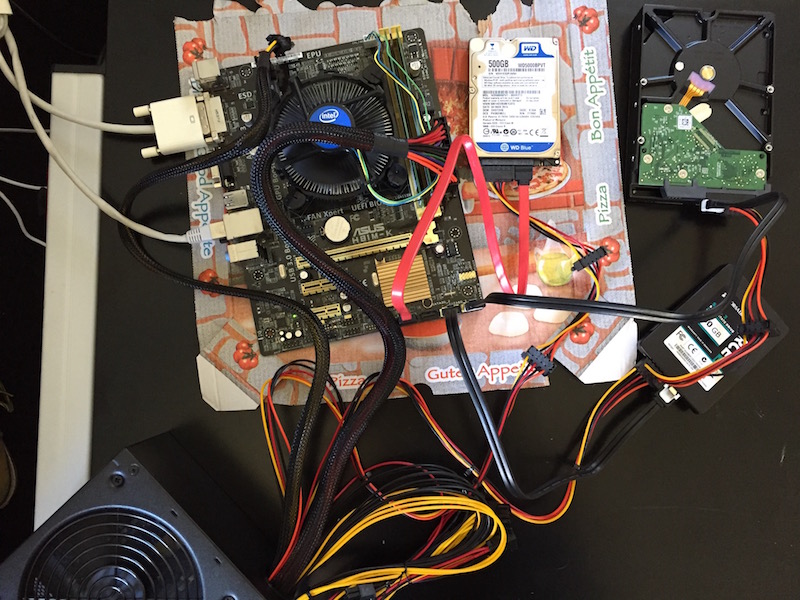
The assembly process is straight forward so I don’t describe it here in every nuance. I decided to assemble it without mounting it to the case in order to test the build first and then put it in. Here’s a picture of the system after assembly.

2.1. Disks
The mainboard offers two 3 Gb/s and two 6 Gb/s ports. I attached the 2.5" system disk to the first 3 Gb/s port and left the second one unused. The cache SSD uses the first 6 Gb/s port and the WD Red for data storage the second one. If I had bought an additional SATA card, I would have attached all mirror disks to that one to eliminate the risk of data corruption in case one controller fails.
3. The case
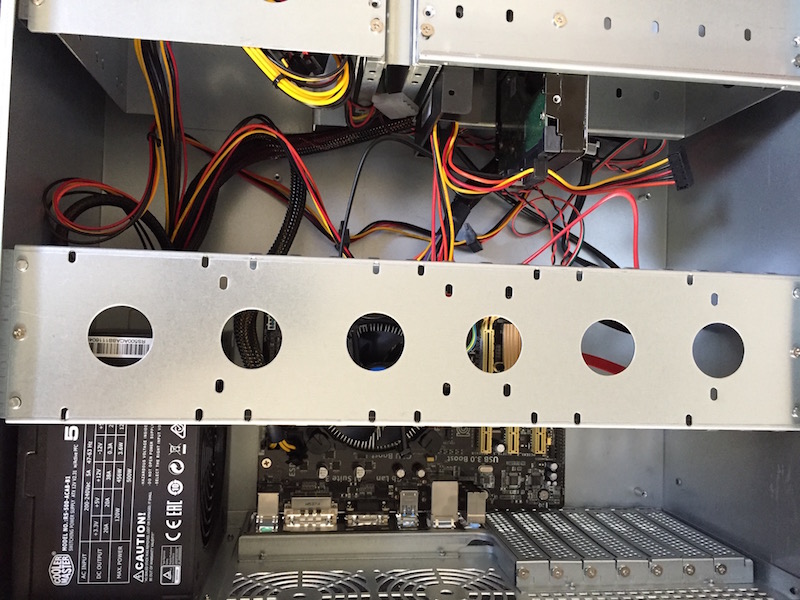
I chose a server case with a height of 4 units. The case is OK given the price of 75 EUR but when I first started the system I was really disappointed by the integrated 120mm fan that was really noisy. I decided to replace it with a BeQuiet! Silent Wings II fan which is up to it’s name: It’s so silent that you nearly don’t recognize it at all and additionally supports PWM which allows the mainboard to adjust the fan speed on demand. I set the fan level to “Turbo” because it’s so silent anyway to keep the disks as cool as possible to enhance their lifetime.


4. First boot
Happily I didn’t make any mistakes so the system worked directly when I booted it the first time. In the next post I will explain how I set up FreeBSD.